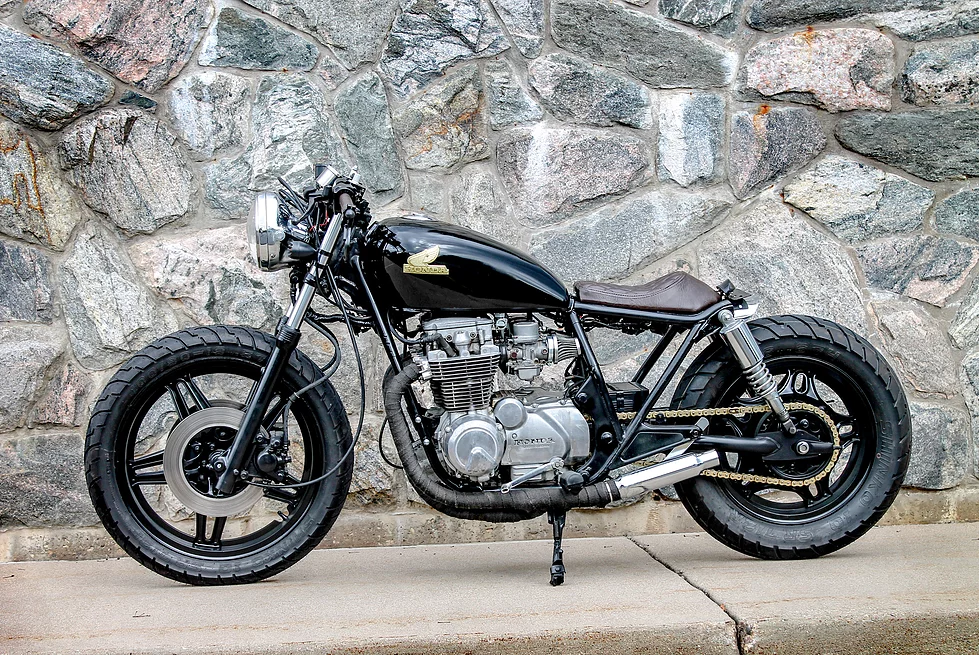
If you’ve decided to head down the path of restoring a motorcycle, then congratulations! You’re in for an extremely rewarding experience.
I (an average Joe) have restored almost 20 motorcycles over the past few years and have been able to learn a lot from it. Because of my experience, I’ve been able to compile this list for you that will save you time, money, and frustration while restoring your motorcycle. If you can follow to this list closely, I can almost guarantee a much better experience.
1. Budget Time
If you are in a relationship, restoring a motorcycle is something you need to discuss together. The process of restoration takes a lot of time and sometimes partners don’t appreciate that.
I recommend the two of you sit down together and have an open conversation about what your intentions are, how much time you’ll be spending working on the bike, and what your partner expects in return. Remember to stick with the time you discussed; if you don’t, that will lead to frustration and hard feelings between the two of you.
2. Budget Money
Whether you’re in a relationship or not, budgeting your money is extremely important. Most of the parts you’ll need to update your bike don’t cost much, but when you add it all together it can seem like a lot.
Make a monthly budget and stick to it so you know exactly how much you can spend each month and not find yourself tight financially. If you are in a relationship or married, this is especially important; you don’t want to be spending money connected to another person.
3. Use Quality Tools
It’s important to use quality tools while you’re working on your project motorcycle. I’m not saying you have to go out there and have the most expensive and best tools offered; just don’t buy the cheapest stuff there is.
There’s a reason some tools are so cheap; you could end up doing more damage than good using cheap tools. For example, I used a cheap socket set and ended up stripping a bunch of bolts. It’s incredibly frustrating.
Click here to see my list of recommended tools to customize and maintain your motorcycle.
4. Use Japanese Motorcycles For Your First Restoration
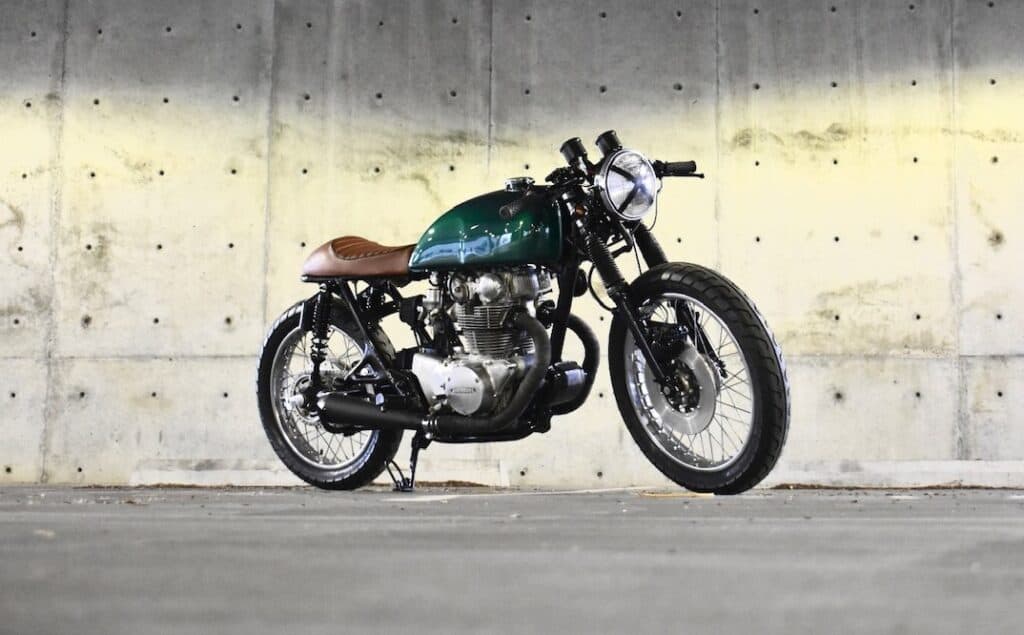
If you are completely new to the motorcycle restoration game, I highly recommend restoring older Japanese bikes (see my list of 30 things to know when restoring Japanese motorcycles). Japanese motorcycles are much easier to work on than other motorcycles out there because of their simplicity.
A good portion of my motorcycle restorations were Yamaha’s and Honda’s. My very first motorcycle was a 1980 Yamaha XS 850. I had no idea what I was doing, but this motorcycle was a perfect bike to work on with my lack of experience.
5. Restore European Motorcycles With More Experience
If you have at least a little experience with motorcycles and fixing them up, restoring an older European motorcycle is appropriate. I recommend experience before restoring one of these because they are more expensive, use random threads (some don’t have metric or english), and the parts are more difficult to find.
I’ve restored a 1983 BMW R80 and a 1969 Triumph TR25W Trophy. They both turned out so beautifully but it was pretty difficult because of the special parts they required.
6. Buy One That’s Running
If this is your first restoration, I highly recommend you start out with a motorcycle that is running. You can still find good deals on motorcycles that are running but look terrible. Looking terrible doesn’t matter though because you’re going to fix that anyway.
I’ve seen too many people get in over their heads when they buy a motorcycle that’s not running thinking they can fix it, only to find they need an engine rebuild.
7. If Experienced, Buy One That Isn’t Running
If you do have some experience with motorcycles and have a basic understanding of how they work, go ahead and buy a motorcycle that isn’t running.
You’ll be able to get a great price for a non running motorcycle. If you take your time while you’re looking it over, most of the time you can implement your knowledge and see why it isn’t starting. If it’s an easy fix, then you just found a diamond in the rough!
But whether or not the motorcycle is running, it’s always a good idea to have access to the repair manual. If you don’t have one, I recommend using emanualonline.com. You can easily and affordably access your bike’s specific repair manual quickly.
I have created an entire video series about restoring a motorcycle from start to finish. Within this series you’ll find all these tips plus much more that you won’t find anywhere else online. Hard to tackle components such as carb rebuilds, electrical, and body work is included and is aimed to help any beginner. Click here for more information if you’re interested in restoring or building your dream motorcycle!
8. Never Pay Listed Price
It is a general rule that when someone lists something for sale, the asking price is more than what they’re expecting to get out of it (unless stated “firm on price”). People know that potential buyers are going to negotiate the price, that’s simply how the game is played.
With that being said, you should never pay the listed price of a motorcycle. Always negotiate what the owner is asking for. You may be surprised with how low people are willing to go to get rid of it. You can learn more about negotiation as well as other helpful tips while buying a project bike by reading our other article here.
9. Don’t Buy Without a Title
A general rule to follow is to not buy a motorcycle without a title. If you follow this, you will save yourself from a world of headache. If a motorcycle is bought without a title, you run the risk of purchasing a stolen motorcycle or a motorcycle with a current lien.
I do have one exception to this rule. Check with your state and see what is required to obtain a new title. If it seems quite simple and you’ve done a VIN inspection and know it’s not stolen with no lien, then you can buy the motorcycle without a title. For more information about buying a motorcycle without a title, see my helpful guide here.
10. Join Forums
The internet made it possible for me to do all of my restorations. With the internet at our fingertips, we can figure out how to do just about anything on any motorcycle.
I recommend joining online forums specific to your motorcycle. If you have a specific questions about your bike, chances are that question has already been discussed and answered on the forum you just joined. It’s also nice to just read through them to get additional helpful tips specific to your bike.
11. Learn to Ride it First
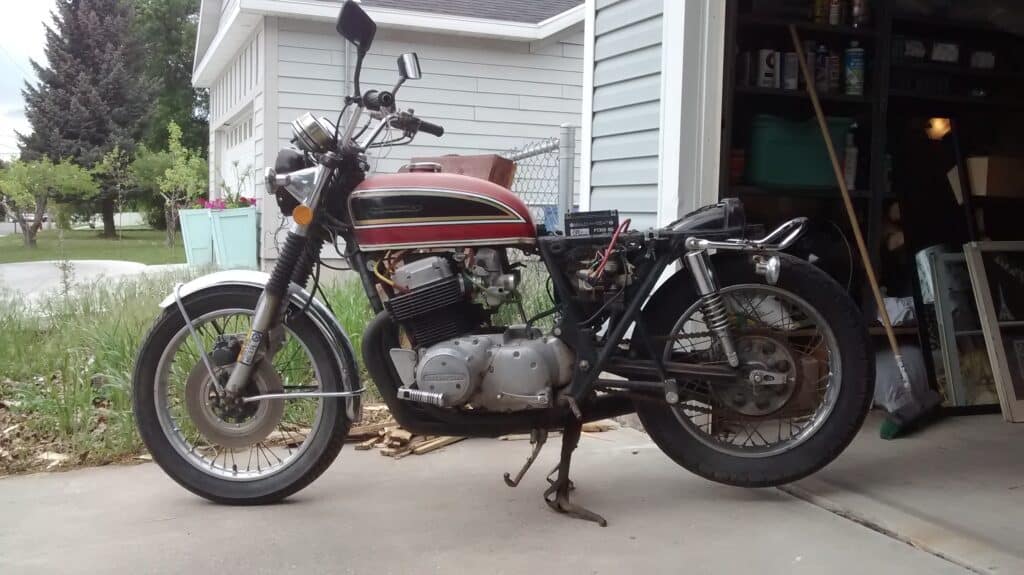
Before you start taking things apart and doing any sort of customizing, you should learn how to ride your motorcycle first. You may already have an idea of how to ride a motorcycle, but every motorcycle is different.
If you struggle getting used to how your motorcycle works, any damage you do to it (such as tipping it or breaking parts), you’re not out much because you were going to fix it up anyway. It’s very frustrating causing damage to a newly restored motorcycle.
12. Always Ride With a Helmet
It is so tempting to take your newly purchased motorcycle out for a quick test drive. It’s even more tempting to do so without a helmet. I’d always think “I’m just going down the block and back, I’ll be fine.”
The fact is, a large portion of motorcycle accidents happen only a few miles away from home. Always wear your helmet. You can click here to see the helmet I recommend.
13. Ride With Good Tires
If you’re going to ride your motorcycle a few times before you start turning the wrench (which hopefully you do), be sure to inspect the tires first. A lot of times, if you bought an older motorcycle, the tires are cracked or brittle which is completely unsafe to ride with.
14. Hang a Picture of Your End Goal
It’s a lot easier to restore a motorcycle when you know exactly what you want it to look like. I usually just go online (Pinterest is a great resource) and find exactly what I like, print it out, and hang it up some where I can see it every day as motivation and a reminder of what I’m working towards.
15. Wear Grungy Clothes
Too many times I have ruined some of my clothes because I wasn’t wearing the appropriate type of clothing while I was working on a motorcycle. If you’re going to work on your motorcycle, even for just a few minutes, save yourself some money and always wear expendable clothing just in case.
16. Take Lots of Pictures
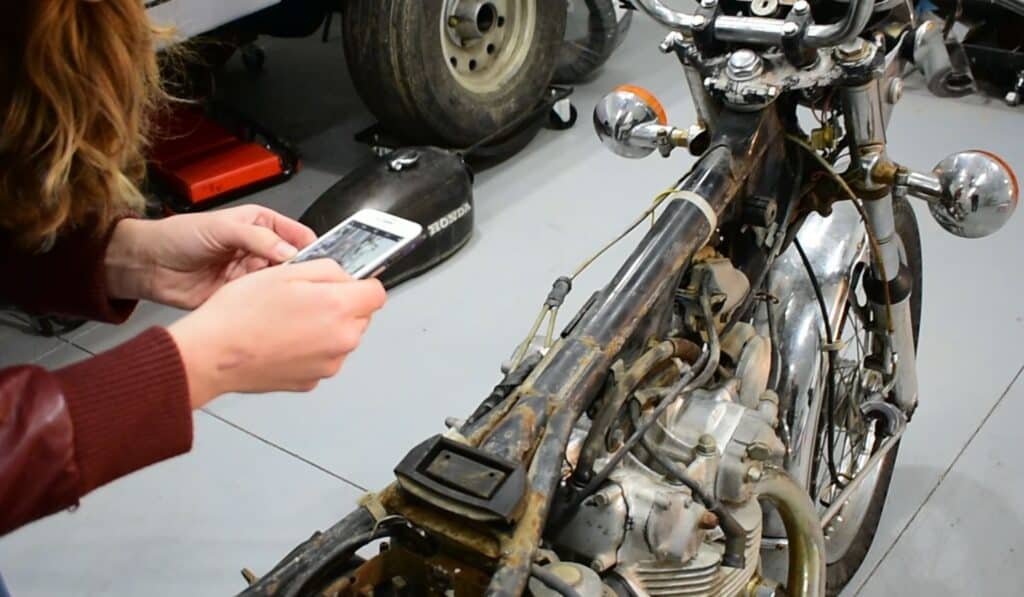
If you forget everything else said in the article, this is the one tip you should take effort to remember. Always take as many pictures as possible while you’re working.
All too often I have seen people disassembling their motorcycle without taking pictures only to discover a few days or months later that they have no idea where each part goes, ultimately getting overwhelmed and giving up.
Every time a part comes off, no matter how small it is, take a picture of it in it’s rightful place first.
17. Label Wires
Along with taking tons of pictures, it’s incredibly helpful to label your wires, even if you’re not planning on disconnecting them or moving them.
This will save a lot of time and frustration in the future; you won’t be caught trying to figure out which wire goes where.
18. Label Bolts
Bolts are a very important component to a motorcycle. If you end up using the wrong size bolt on any part, that could be detrimental to your bike. Any bolt you remove, take a picture and place it in a plastic baggie that is labeled with a detailed description of where it went. If you let bolts roam free, they will never be found again (I know this from personal experience).
19. Take The Tank Off First
Your first step of disassembling should always be taking off the tank. Sure, it might already be dented and rough looking, but you don’t want to inflict any more damage. That gives you more work in the long run.
Once the tank is off, keep it off until you are completely done with your restoration. Putting the tank on should be your very last step. You don’t want to put on a freshly painted tank and still be messing around with the motorcycle; you risk bumping and scratching it.
20. Paint Everything Yourself
Paint jobs are intimidating, especially if it’s your first time. The paint on the tank is the first thing people see when they look at your motorcycle. Have confidence in yourself; painting isn’t really that hard. Do a few practice runs on a scrap piece of metal to get a better idea of how it works. Click here to learn more about painting a motorcycle tank, or you can click here to learn more about how to paint a motorcycle frame.
21. Buy More Sanding Supplies Than You Think You Need
Sanding is inevitable on any motorcycle project, so it’s wise to have those supplies readily available. Keep in mind that you will always need more than you think, so always buy your supplies accordingly.
It’s really annoying being low on supplies and attempting to work with scrap sandpaper laying around. You need the proper amount of supplies to work with in order to have a quality motorcycle.
22. One Project At A Time
Once you get into a project like this, restoring a motorcycle can get overwhelming. You will get overwhelmed. Just keep in mind that you need to work on one project at a time. Don’t try to work on several things at once.
Before you get started, make a list of each project that needs to be done on the motorcycle. Don’t move on to the next project until the previous project is completed. This’ll keep you so much more organized and less overwhelmed.
23. You Will Get Stuck, Don’t Give Up!
As unpleasant as this sounds, there will be times when you will get stuck. You may come to a problem or a needed fix that you simply cannot figure out. I’ve been there and I know exactly how that feels. You’ll get overwhelmed and wonder if you should keep going with your project. Keep at it and I guarantee you’ll figure it out.
24. Bounce Ideas Off A Friend
If you have any close friends or family members you really get along with, have them come over and help you out every once in a while. They don’t necessarily need to be mechanically inclined, but it helps to talk it out to someone about what your next plans are for the bike. And sometimes your friend or family member can give you some good ideas.
25. Wear a Respirator
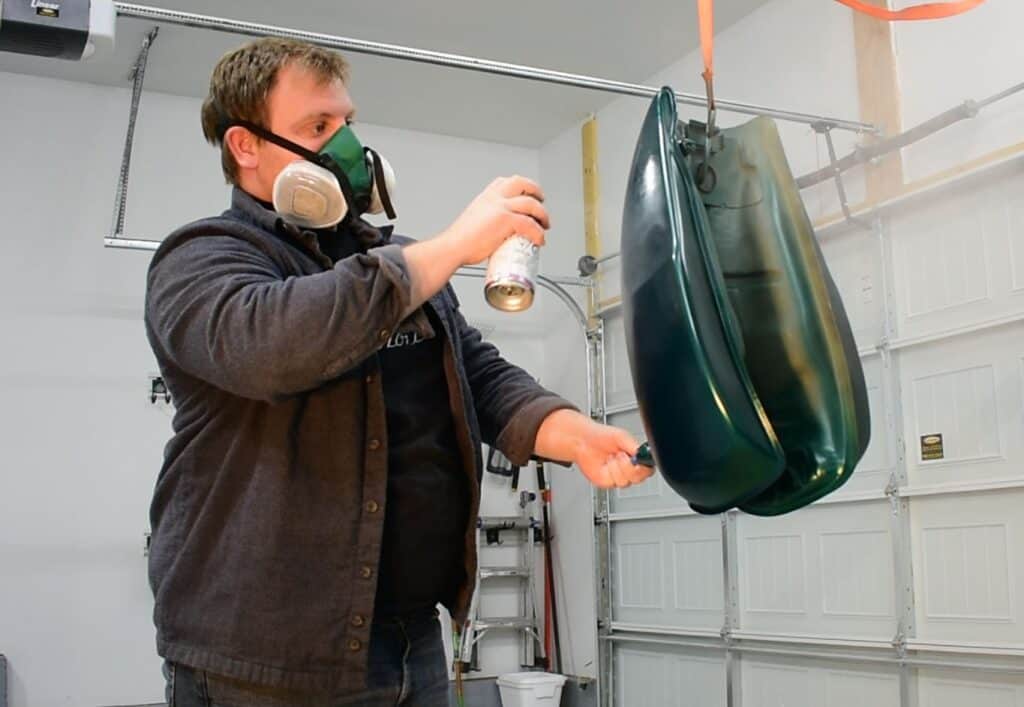
You need to wear a respirator any time you are sanding or painting. I’m not talking about the cheap white masks you find in the waiting room at a doctor’s office, I’m talking about the industrial, alien-looking respirators. You can find a decent one for $20-$30.
Sanding any paint off of any part of the motorcycle without wearing a respirator increases your chances of lead poisoning. The paint that was used on older motorcycles usually contained lead.
26. Keep Tools Organized
Keeping your tools organized while restoring a motorcycle is essential. It’s very tempting to just leave your tools right where they are when you’re done for the day because you know you’ll be out there again the next day. Unfortunately, it doesn’t work that way.
I’ve lost a handful of nice tools by just leaving them out in between working sessions because I couldn’t remember where I put them. When you’re done for the day, quickly wipe them clean and put them in their designated spot. You never know who will be coming out into your work place and misplacing stuff.
27. Treat Rust
You’ll run into rust a lot while restoring a motorcycle. When you find some, sand it all the way to bare metal. You can’t simply just paint over it and expect it to go away. Some paint claims to stop rust, but that just means it’ll keep it from spreading. Once rust starts to form, it’ll keep growing no matter how much you paint it. Sand it down first, then paint.
28. Know What Wire You’re Cutting
No matter much you put it off, you’re going to have to deal with the wiring of your motorcycle sooner or later. This can get a little tricky if you don’t do it right.
Aside from labeling all your wires as mentioned before, be sure you know exactly what each wire does and where it goes before you cut it. You can’t test a wire if it’s cut.
29. Always Solder Wires
When you have two wires that need to be connected, always solder them and never just twist them together and call it good.
Twisting wires does not guarantee a forever connection to the wires. Yes, electric current will still flow through them, but you could hit a bump while riding down the road that disconnects those wires. Soldering ensures they won’t become disconnected
30. Buy Parts Only When You Need Them
It’s easy to get ahead of yourself and buy all the parts you think you’re going to need all at the same time. There’s a lot of problems that can come from this, one being that you’ll easily lose parts and/or damage one of them when they’re just sitting around.
This happened to a friend of mine; he bought all the parts he needed but worked so slow on his motorcycle. He ended up needing to buy some of the same parts again because he misplaced a lot of them.
31. Always Use a 2-Part Clear Coat
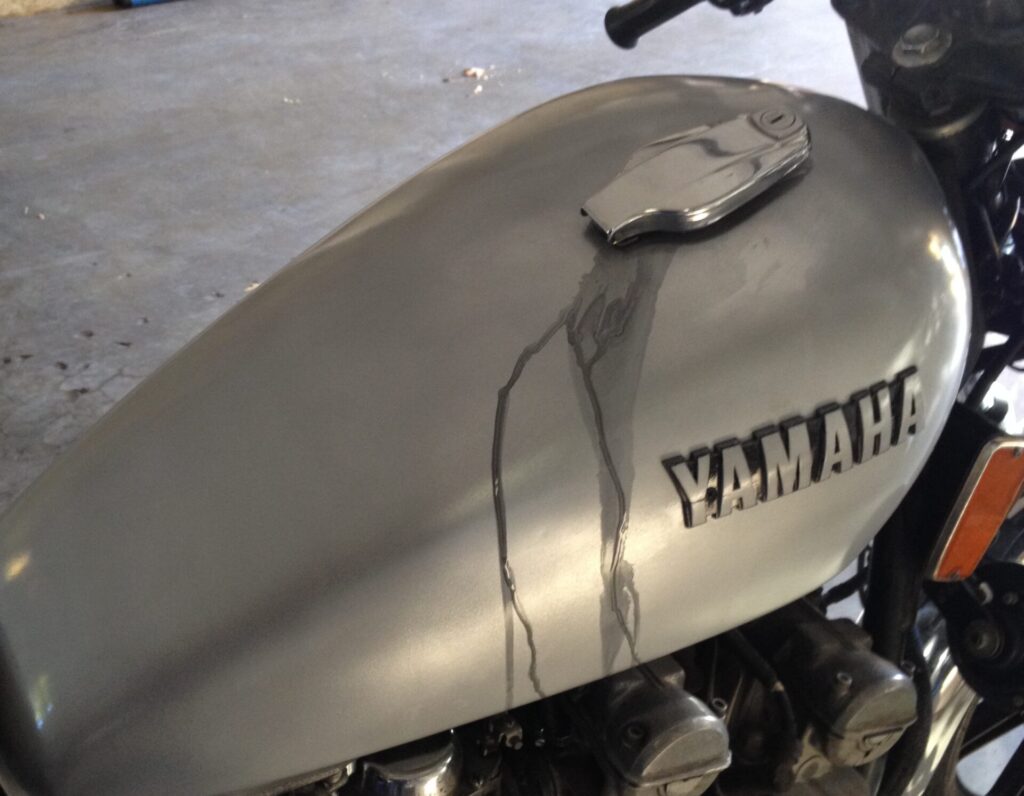
I quickly learned with my first motorcycle restoration how important it is to use a 2-part clear coat on the gas tank. I had only used a single part clear coat. After all the work I put into it, I accidentally spilled some gas on the tank and it instantly ate through my new paint job. 2-part clear coat will give your tank the protection it needs to stay clear of anything that eats away at the paint.
32. Brake Fluid Eats Away Fast
Be careful any time you are dealing with brake fluid. It can irritate your skin and if it’s placed anywhere other than the master cylinder, it’ll immediately eat away at whatever it’s on.
So if it ever gets on anything, wipe it up immediately. If you ever get any on your skin, wash it off immediately with soap and water.
33. Make Sure Inside the Tank is Clean
Older motorcycles have a tendency to gather build-up and rust inside the tank. This is ususally due to carelessness by previous owners and letting water and moisture get inside.
It’s impossible to get all the rust off from inside the tank. There are a few methods you can use to get as much rust out as possible such as a rust remover solution or rattling hardware inside to loosen everything up.
This will prevent a clogged fuel system and lines which is more than unpleasant to deal with. You can learn more about how to clean the inside of your motorcycle gas tank from our Youtube video:
34. The Likely Culprit is Clogged Carbs
The biggest frustration you may run into with your motorcycle rebuild is not being able to get it started. Through my experience I’ve found that about 80% of the time the culprit is a clogged carburetor.
If you can’t get the right mix of air and fuel, you motorcycle isn’t going to start very well. Let this be the first thing you check when you can’t get your bike started. It’s always a good idea to do a thorough clean and rebuild of your carbs during a motorcycle restoration. If you’re still having trouble getting your motorcycle started, read our other article here that guides you through troubleshooting a motorcycle not starting.
35. It’s Okay to Use a Mechanic
I will be the first to admit that I have used a mechanic to fix a few things on my motorcycles. Sometimes you get to a point where it really is just over your head and you need a little bit of professional help. That’s okay. Sometimes you can even call up a mechanic and get a bit of advice from them over the phone if they’re nice.
36. Use a Mechanic for an Engine Rebuild
If you went ahead and bought a motorcycle assuming the engine was fine only to find that it was completely blown, you’re not alone. If you end up with a bad engine, take it into a mechanic to rebuild it for you. Do not attempt to do this yourself unless you are very experienced with it. An engine has everything to do with timing and any slight modifications done could make it worse.
37. Cover Up Your Work Space
Whether you’re working in your garage, a friend’s shed, or in the drive-way, you’ll need to cover up your surroundings with spare sheets or plastic when you’re painting.
You should use a good quality paint when you paint the frame and tank. Because of the good quality, it will have a wider spray pattern making over spray a real problem. Anything that is not covered in your work place will either get spray dust or over spray on it, even if it’s not in the direction you’re painting.
38. Use Amazon or eBay
I’d say I have been able to find about 99% of the parts I’ve needed for all of my motorcycle restorations on Amazon or eBay. Most of the parts you find there are good quality and priced well. There’s no need to look anywhere else unless it’s a specialty part. But beware, if it’s way cheaper than the other parts then stay away, it’s probably cheap for a reason.
39. Check Wires If Fuses Keep Blowing
You may run into the problem of fuses that keep blowing. This is actually pretty normal for those of you who are new to restoring motorcycles.
If this keeps happening, this means either a positive wire is grounded or there are two wires that are crossed that shouldn’t be. A multimeter is a great tool to have handy for situations like this.
40. Paint Rims After Mounting Tires
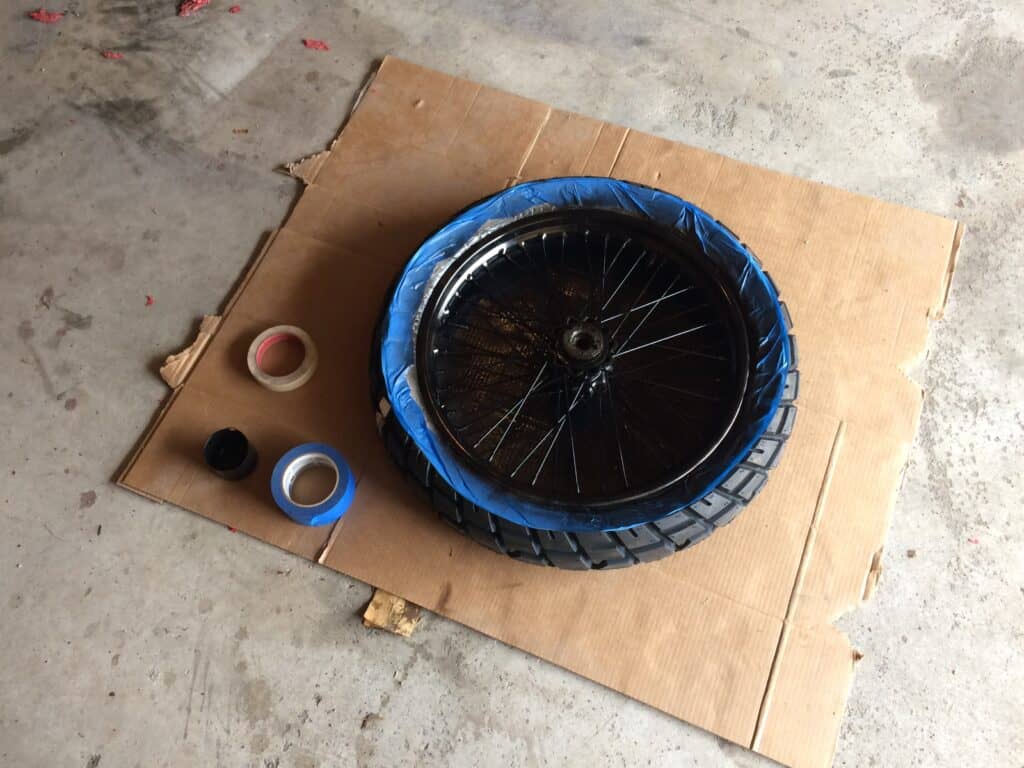
If you plan on painting your rims at all and also need to get new tires, buy and mount your tires first before you do any painting on your rims. The tire mounting machine scrapes greatly against the metal of the rim while removing and adding new tires. Any paint you had on there before will be scratched up and look terrible.
41. You Can Use Aerosol On The Tank
Normally I would not recommend aerosol paint cans on metal surfaces, but motorcycle tanks are curved and round. For the most part you can’t see any spray lines if done correctly.
I do recommend using a high quality aerosol can on your motorcycle tank so you don’t get any splotches from the sprayer. I recommend using Dupli-Color which is found at most auto stores (or you can find it here on Amazon.com for a wider selection of colors). For clear coat I use the two part 2K Spray Max aerosol.
42. Use Grease Remover On The Frame
Motorcycle Frames are highly susceptible to caked-on grease. You may feel like you got all the dirt and grime after you cleaned it with a cloth, but I assure you that you didn’t.
Always use a wax and grease remover on a frame before you paint it. Your paint will chip right off if you don’t. This remover will make sure that you get all the grease and grime off and you won’t have any problems with your paint in the future.
43. It’s Okay If You Drop Your Motorcycle
I’ll probably get a lot of people yelling at me through the screen about this one, but it’s honestly okay if you accidentally tip or drop your motorcycle (click here for more information I wrote about the subject). A lot of people assume it’s detrimental to the bike. It is if you keep it laying there for long periods of time. But dropping it and picking it right back up will usually only cause cosmetic issues.
You may have to repaint some parts and replace a handlebar or foot peg, but mechanically your motorcycle is okay.
44. Sell Extra Parts
I would usually take 10 – 30 pounds worth of equipment off of my motorcycle rebuilds and just throw it away. I quickly learned that there’s actually a lot of people out there that still want that stuff. So I started selling those parts and got a little extra cash to fund my rebuild.
Do some research on each part you take off your original motorcycle and see if it’s worth anything. You’d be surprised!
Conclusion
Restoring a project motorcycle isn’t for the faint of heart, but if you have the desire and drive, you can make it look beautiful. My hope is that my experiences that generated these tips will be able to help others out there who wish to pursue their dream of building their dream motorcycle.
Related Question
Can I register a motorcycle that isn’t running? This all depends on the state you live in. If you live in a state that does not require safety and emissions, then yes you can register your motorcycle that is not running. If your state does require safety and emissions testing, then your motorcycle has to be functioning well enough to pass those tests to register it.
