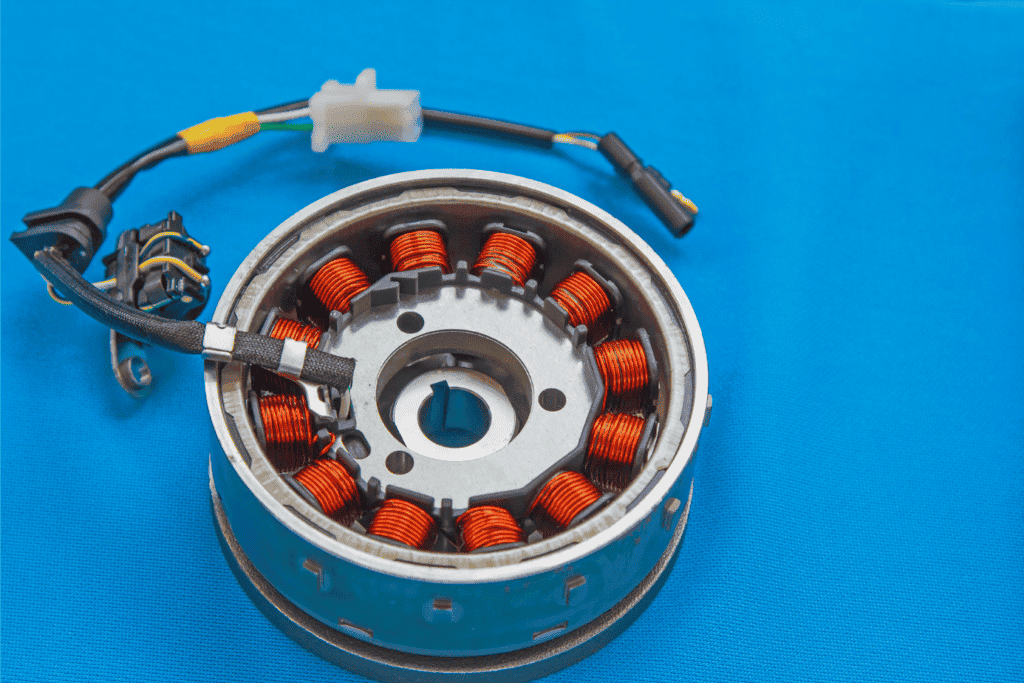
The stator on your motorcycle is a pretty vital component that ensures a safe and smooth ride. Replacing it can be a bit tricky; if you do it incorrectly or if you use the wrong part, it can cause your motorcycle to just simply not work. If you’re reading this article, you may have found yourself in this particular situation.
Why won’t my motorcycle start after replacing the stator? Your motorcycle may not start after replacing the stator because of incorrect wiring, a faulty or incompatible stator, a blown fuse, or a weak or dead battery. If a motorcycle doesn’t start after checking these, the underlying issue may be unrelated to the stator.
While the stator does perform an extremely critical role to your motorcycle’s functionality, your motorcycle not starting after replacing it could happen for several different reasons. Electrical issues on a motorcycle will make any rider want to pull their hair out; it’s one of the most frustrating troubleshooting issues I’ve run in to with my motorcycle restorations. Luckily, I’ve made this helpful tutorial to guide you through why your motorcycle isn’t starting after replacing that stator and what you can do to fix it.
Why Your Motorcycle Won’t Start After Replacing The Stator
The stator generates the power for your motorcycle to work; it runs all of the electronics and circuitry throughout the entire motorcycle. It is also responsible for charging your battery. Without a properly functioning stator, your motorcycle isn’t going to work at all.
So, you just replaced your stator and now it isn’t starting. What do you do? There are so many different things that could stop your motorcycle from starting, but due to the fact that you just replaced your stator, there’s a good chance that it’s related to that.
To start off, you are going to want to inspect the wiring on your stator that you just installed. Check to see if everything is connected properly. There should not be any loose or disconnected wires. Even a loose connection is enough to cause you issues. Inspect the wiring enamel and coatings to ensure no wires are exposed that would cause a short or an improper ground. If all of the connections are correct and solid, then you can move on to check a few other things.
Next, let’s check that the correct stator was installed. You will want to check the part # and ensure that the one that you got is in fact for your particular motorcycle. You can also compare your old stator to the new one. They should be essentially identical. There have been a handful of times I ordered the right part but the manufacturer mistakenly sent the wrong part and I installed it before realizing it. If you are positive that you have the correct stator in your bike, then you can move on to the next thing.
At this point, the issue is likely an issue with the stator itself. It might be broken or defective. It could have a burnt up coil or a broken winding; any of these issues will leave it non-functional. In this case, you will need to remove your stator and get a new one. If you had just purchased it, you should be able to get it replaced for free.
Next, let’s talk about a potential blown fuse. When you’re replacing the stator, if you have a positive wire on the stator circuit that is energized and you accidentally touch it to the frame or something else that is grounded, you will mostly likely blow your main fuse. Your main fuse is generally a 20 or 30 amp fuse located in your main fuse box. On older motorcycles, your main fuse may be an inline fuse that is made of glass. Check your fuse box and ensure the fuses are not blown since this would cause your motorcycle to not start.
When performing maintenance on your motorcycle, like changing the stator, it’s common to accidentally run down the battery voltage. This could be done by accidentally leaving on the key, leaving on a light, or from a parasitic drain somewhere on the motorcycle. To check battery voltage, use a multimeter across the two battery terminals and make sure the battery has 12.6 volts or greater. Anything above 12.6 volts is considered fully charged. Also note that because you replaced the stator, that means it was likely faulty and not charging the battery in the first place.
If the issue is stator related, this would be the sequence to follow to get your motorcycle working again. Keep in mind that if you just replaced your stator and your motorcycle suddenly isn’t starting, there’s no guarantee that it actually is a stator issue. There are other electrical and mechanical issues that your bike could have that prevent it from starting. See our other article here to learn about other reasons your motorcycle isn’t starting.
How To Use A Wiring Diagram And Test Light To Diagnose A Bad Stator

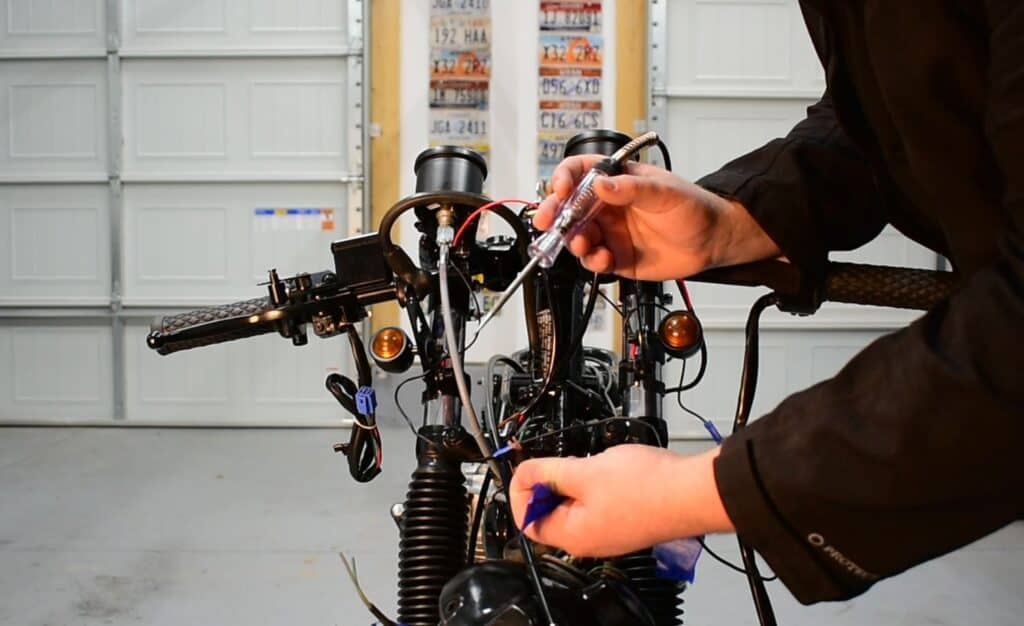
If you want to diagnose a bad stator yourself with a test light you can do so fairly easily. To use your test light, you are going to want to first connect the alligator clip end of your test light to ground on your motorcycle. This could be any metal on the bike or to the ground terminal on your battery.
Now that you have connected your test light to ground, you can touch the probe end of the test light to anywhere on your motorcycle. If there is a voltage difference relative to your ground, then the test light will illuminate. This way you can test to ensure you have voltage where it should be.
To properly test your stator, you will want to find an electrical schematic for your stator circuit. This way you can follow along your circuit with your test light. You can ensure you have voltage where you should and continue following along the circuit. If you find that the voltage suddenly disappears, you can trace it to exactly where and repair the circuit.
Is Replacing The Stator Something That You Can Do Yourself Or Should You Take It To A Mechanic?
If you are wanting to replace your stator but have never done it before, you may be wondering how difficult it might be and if it’s worth trying to do. Or, you may have already replaced your stator and now wonder if you should have had a mechanic do it instead since you may be experiencing some starting issues. Replacing the stator is not incredibly difficult but does require some level of mechanical aptitude. You will have to work with both your motorcycle’s electrical system and mechanical system to replace it.
If you are feeling up to it, then you definitely can replace the stator yourself. If you have never done this before, finding an online video or tutorial specific to your motorcycle can greatly help you to know exactly what to do. Not only that, but these tutorials can also let you know all of the tools that you will need before you even start on the job.
If you have already replaced the stator, just know that this is a pretty common DIY fix and you haven’t royally screwed up your motorcycle if it still isn’t working. This troubleshooting guide should help you pinpoint the most common reasons why your motorcycle isn’t starting after replacing this part – if you have the capability to replace the stator, you have the capability to find the underlying issue as to why it’s not starting.
How Much Will It Cost To Have A Mechanic Replace A Stator For You?
If you are considering having your stator replaced by a mechanic, you may be wondering about how much it will cost to have a mechanic do the job for you. Fortunately, having a mechanic do this job for you is not incredibly expensive. The price will vary some from bike to bike. This is a result of parts costing different amounts of money from bike to bike and also the level of difficulty to replace the stator on that specific bike. The easier it is to replace, the quicker the mechanics can do it and the less it will cost you.
In general, you can plan on paying between about $200 and $500 on a stator replacement. That would be the price for both parts and labor.
