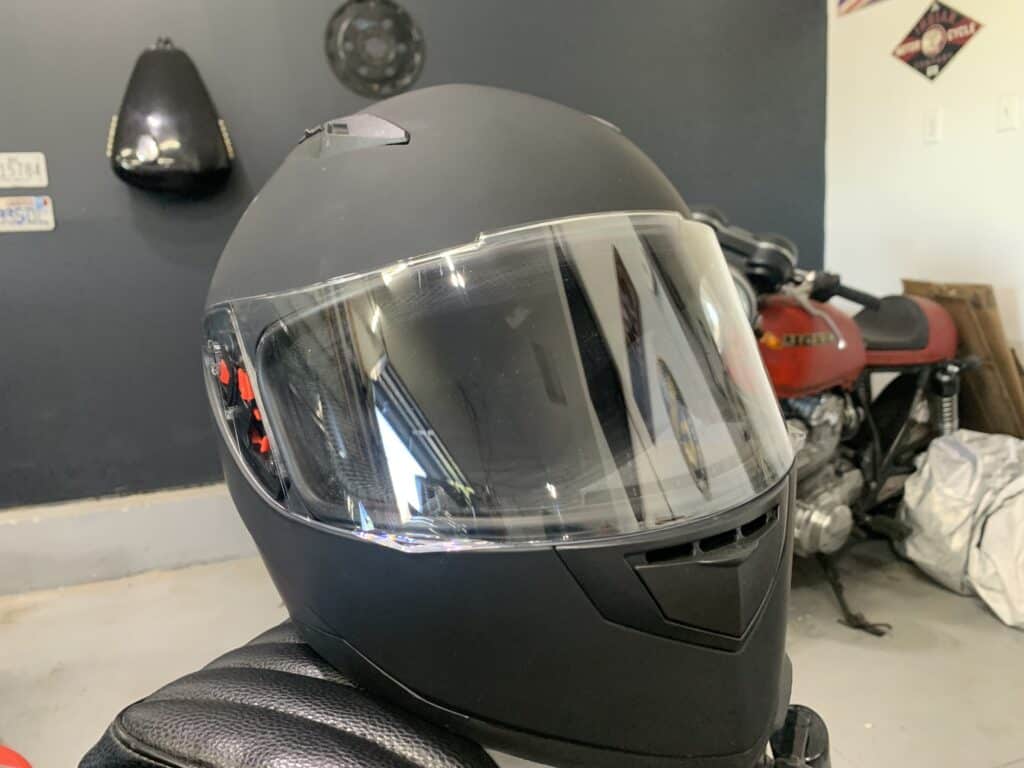
Motorcycle helmets offer protection in the event of a crash, but they have other safety features. The visor of the helmet is a transparent plastic designed to conform to the shape of the helmet around your face. This offers a wind break and can also block debris, dust, or bugs.
Can you tint your motorcycle visor? It is legal to tint a motorcycle helmet visor and is a very simple process to do with very few tools. This is generally cheaper than buying a shaded visor from a manufacturer, but if done incorrectly can hinder your ability to see clearly out of the helmet.
However, a plain clear plastic visor will not block out any sunlight. While helmet manufacturers offer some options to buy a shaded visor, they can be a bit pricey depending on the helmet. A shaded visor offers some extra protection from the sun and can make it easier to ride safely. Keep on reading to learn how you can tint your visor as well as some points to think about before doing so.
How To Tint The Correct Way
Performing a DIY tint job can be a bit tricky. It requires some patience and attention to detail. Otherwise, things can go awry and you will have to start over again. When done incorrectly, the tint paper can trap bubbles which not only looks bad, but impairs your vision. It is also easy to scratch the tint or even your visor. The last thing you want to do is ruin a good visor and end up buying a new one.
It should be known that there isn’t a manufacturer recommended process for tinting visors. This process is similar to tinting car windows, but there are a few differences. It may take some trial and error to get it just right, so be ready for that possibility. I’ve tinted a few motorcycle visors during my riding career, this is the best process I’ve found.
Here are some supplies to get for the tint job:
Vinyl tint paper. There are a ton of ways to get a hold of this stuff, but it is typically found in hardware stores, automotive parts stores, or online. Vinyl tint is stretchy and will fit better than traditional tint paper. This comes in a roll so you should have plenty if you need to try again.
Glass cleaner. This will be critical to having a clean working surface.
Paper towels. These will be used in cleaning the visor. Use lint-free where possible.
Squeegee. This will be used for cleaning as well as application. There are squeegees designed for tinting available on Amazon. They are a bit larger than the size of a credit card and often have a felt edge.
Soapy Water. This may seem like it’s only used for cleaning, but it will actually be critical in the application.
Razor and/or utility knife. This will be used to cut the tint paper to size and trim excess.
Heat gun or hair dryer. This can be used in application to help form the tint paper to the contour of the visor.

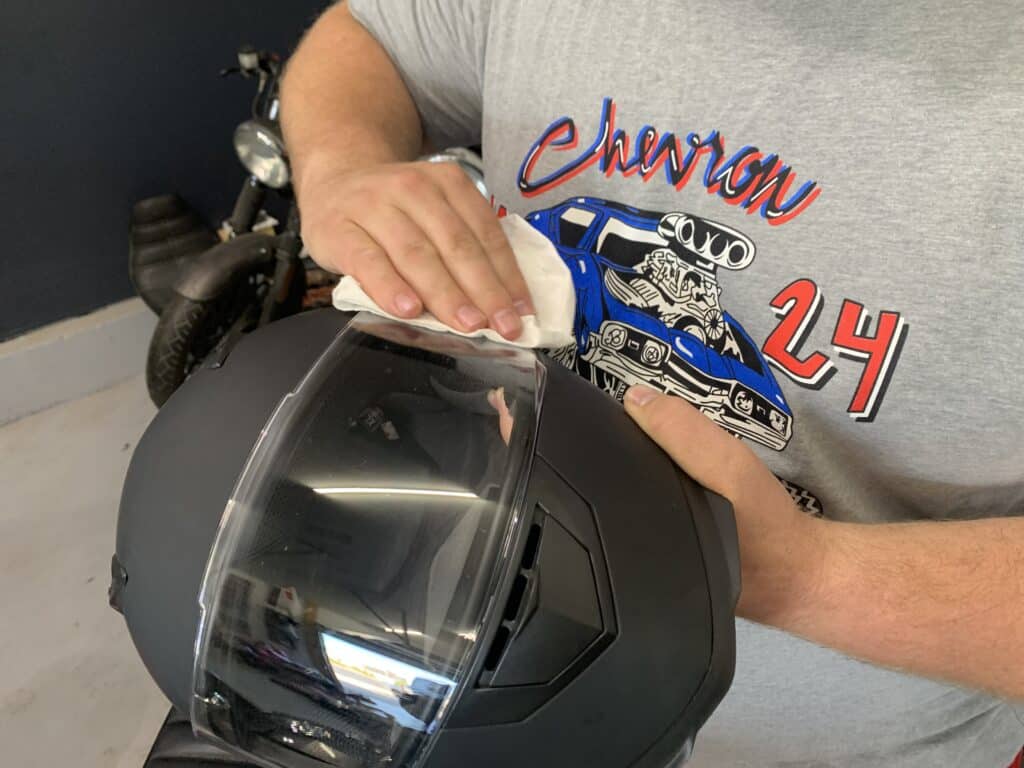
After gathering the supplies, you are ready to begin. The first step is to thoroughly clean the visor. Make sure you are working in an area where dust won’t be blown around. Using the glass cleaner, give it a good initial once-over.
Then spray the soapy water on the visor and use the squeegee to wipe away dust and residue. It’s a good idea to repeat this process a second time. After cleaning, spray the visor with the soapy water to temporarily protect the clean surface and prep for the tint.
The second step is to measure and cut the vinyl. If you have a tape measure or ruler, get a rough measurement of the height and width of the visor, then measure and cut the tint. This does not need to be precise. Having more is better, so give yourself a bit extra just to be safe. I always find it easy to premeasure with another piece of paper then use that to trace and cut out the vinyl.
Third, apply the vinyl. Give the visor another spray and carefully lay down the tint. Having a helper for this part can make it a bit easier. Also, have the heat gun ready. Start in the middle of the visor and work your way out.
Use the heat gun to soften the vinyl a bit in order to stretch it and shape it to the visor. Spray some soapy water on both sides of the vinyl and use the squeegee to press out any bubbles (this is my favorite part……it’s so satisfying!). Take your time and make sure the vinyl is free of bubbles and forms to the visor.
Finally, take the razor knife to trim excess vinyl around the edges of the visor. Be very careful to not cut the visor as it can cause permanent damage. Give the visor one last cleaning and sit back and enjoy your new visor.
Dangers Versus Benefits Of A Tinted Visor
Most of the time, people want a tinted visor to help with shade from the sun. When riding on a sunny day, the sunlight can directly get into your eyes or it can cause a glare on the visor. Either way, it impairs your vision and that can be dangerous.
A secondary reason to tint your visor is for looks. A plain clear visor can look pretty bland compared to a tinted or mirrored visor. While it may not be for practical purposes, it is important to feel good about your equipment.
While tinting can help with shade from the sun and can look cool, there are some drawbacks. Having a shaded visor in low light can be as dangerous as having sunlight come into your eyes. It can be easy to get caught riding at sundown and it can be very dangerous to not be able to see.
If this happens, you can flip up the visor. However, this exposes your face to the wind especially at higher speeds. Most helmets have visors that can quickly pop in and out, so carrying a clear visor to swap in will help you see at night. However, this requires buying another visor, finding a way to conveniently carry it around, and pull over to swap it out. A last ditch effort is to peel off the tint, but it may be necessary.
Another drawback to tinting your own visor is the chance that the tint can get damaged and can impair your field of vision. This can include scratches, dings, or bubbles formed under the tint paper. The good news is that you can refer back to this article to try tinting the visor again.
Can You Spray Tint A Visor?
In the automotive world, car owners will tint their lights to give it a blacked-out look. This is often done using a spray tint product. This comes in a can and applies almost like spray paint and can produce a darker shade by using more layers. It still is translucent so that the headlights or tail lights can still be effective.
Vehicle headlamps and tail lamps are a plastic lense assembly. Likewise, a motorcycle helmet visor is a plastic piece. It would lend to reason to suggest that this spray tint can be used on a helmet visor.
The process for spray tinting is pretty straight forward. It involves protecting any surfaces that you don’t want the tint to get on, like the car paint, then cleaning the surface of the lense. After a few layers of tint and once it’s dried, it’s good to go. Some people will polish the lense , but that isn’t always necessary.
Aside from spraying, there is also a process to dye the visor. This process involves soaking the visor in a dye bath to achieve a shaded look.
Surprisingly, there isn’t much for DIY tutorials on spray tinting specific to motorcycle helmets. There are a few forums and videos that show people using spray tint on other kinds of helmets, such as helmets used for costumes. There is also a process to dye the visor, but again that shows up mostly in custom helmets.
However the type of plastic used in a custom helmet could very well be different than the plastic used for a motorcycle helmet visor. This difference could have an effect how the tint adheres. Problems like this are not uncommon when taking on DIY projects like this.
Conclusion
Tinting is a great way to add some extra sun protection while achieving a look and may be a bit cheaper than buying another visor. When using vinyl tint paper, take the necessary steps to apply it correctly. Be careful to not damage the visor when applying. Also, be careful when riding in low light with a shaded visor as your visibility significantly drops. There are a few other ways to tint, but do what is going to work best for you.
Related Question
Does a motorcycle helmet count as a carry on item? Every major airline in the United States will let its customers bring both a personal item and a carry on item. These items are categorized by size. A motorcycle helmet is categorized as a carry on, leaving you open to also bringing a backpack, purse or other small personal item. Click here for more details.
