
You might be riding your motorcycle one day and suddenly notice that your blinker is blinking far faster than normal. It may even start to drive you crazy. But just because it’s blinking faster than normal, does that mean there’s an underlying issue?
Why are my motorcycle blinkers blinking too fast? Motorcycle blinkers usually blink too fast because there is a bulb somewhere on the motorcycle that has burnt out. This will change the resistance of the electrical circuit. It may also be cause by installing LED lights or installing the incorrect flasher relay.
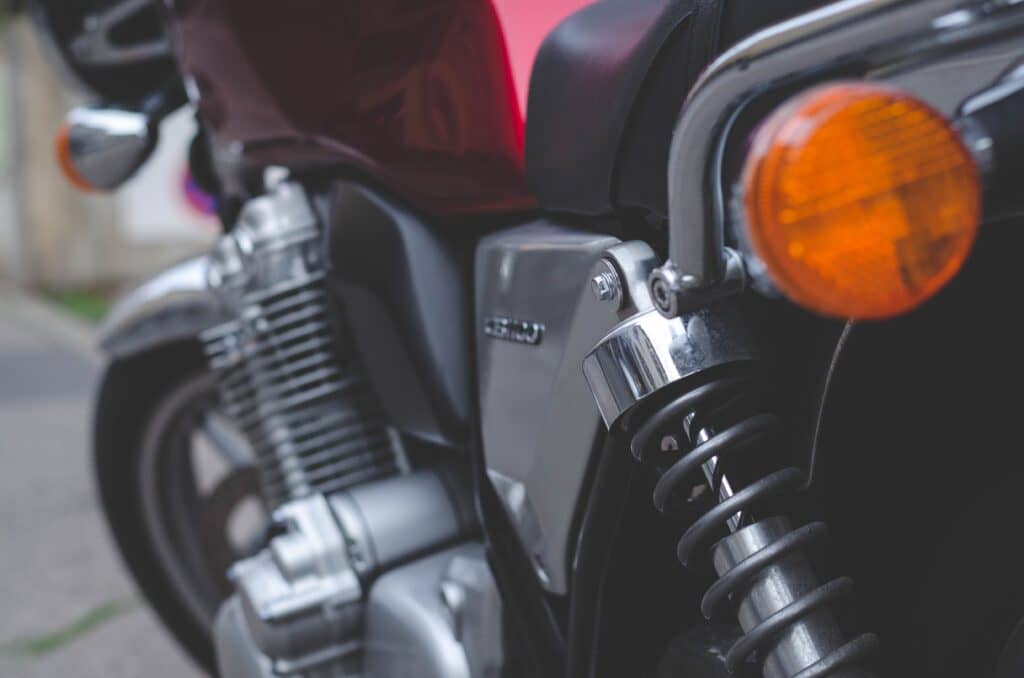
Blinkers are crucial for your safety while on the road. This is a way for you to communicate with other drivers about what you are planning to do.
That is why it’s so important that you as a rider keep your blinkers working as they should at all times. This means replacing burnt out bulbs as they go bad, repairing electrical issues, replacing bad relays, and ensuring that any aftermarket lights installed work as they should. If you notice anything abnormal about your blinkers at all, it’s important that you get the issue resolved as soon as possible for your own safety and the safety of others on the road.
Why Fast Blinking Bulbs Can Be Caused By A Burnt Out Bulb
So, suppose your motorcycle blinker suddenly starts blinking very quickly and you want to figure out why. It’s time to see if we can diagnose this. The most common reason for a blinker to start blinking very quickly is because a bulb on that circuit has burnt out. This is a result of the burnt-out bulb changing the resistance of the electrical circuit. If you think this might be the issue, let’s see if we can verify that this is what’s going on.
The easiest first step is just to turn on each bulb and verify that the bulb is on. You will want to turn on your headlight, your high beams, your turn signals, and your brake lights. Ensure that each one turns on as it should. If one doesn’t turn on, it will be very obvious, and you will know right away which one is the problem.
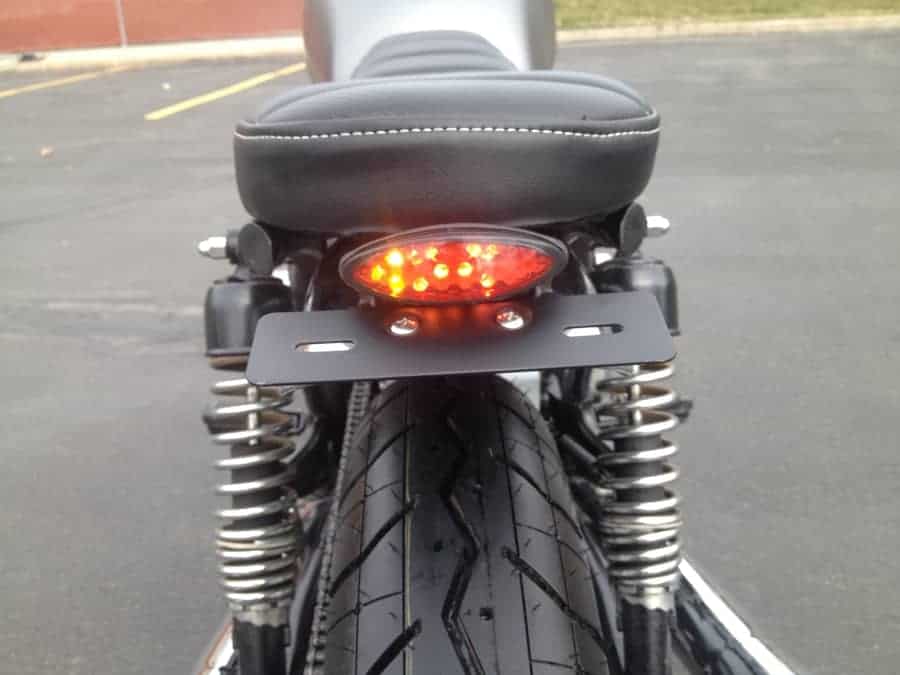
Changing out a light bulb on a motorcycle is very simple and cheap, and you can do it yourself with very basic tools in a couple of minutes. Most auto parts stores will be able to provide you with the correct bulb. After installation, check and make sure your lights are flashing at the appropriate rate now.
You can also test your electrical circuit using some basic electrical diagnostics tools such as a test light or a digital multimeter. The test light will illuminate when 12V is present at the probe. This is a useful tool if one of your lights isn’t turning on; remove the light and place the test light probe where the light was. If the test light doesn’t turn on, then that indicates a problem with your electrical circuit somewhere else.
Why Fast Blinking Bulbs Can Be Caused By Installing LEDs
So, let’s say you just found some new LED lights online and got them installed on your motorcycle. Now the blinker is blinking extremely fast. You know that the lights are good because they’re brand new, but you still have a hyper flash. Why is that?
If your LED kit only came with LED bulbs and no sort of driver kit, or replacement relays, then you will probably experience this. The reason being is that LEDs have much lower electrical resistance than incandescent bulbs. Your relays that flash the lights use the resistance of the bulb in order to determine flash timing. When that resistance suddenly gets much lower, that can cause the relays to flash much more quickly.
If this is your problem, you will either need to find LED compatible relays or add some extra resistance to the circuit to ensure that timing is correct. If you buy a high-quality LED light kit from a refutable vendor, these will always come with some sort of LED driver or replacement relays so you don’t have to try to figure it out by yourself.
With most of my motorcycle rebuilds, I replaced the lights with LEDs. I often had the issue of the other non-replaced lights flashing much faster. It took me some time to figure it out, but I was able to get those other lights to calm down a bit by using an LED relay.
Why Fast Blinking Bulbs Can Be Caused By An Incorrect Flasher Relay
Let’s say you just replaced the flasher relay on your motorcycle because it wasn’t working at all and now your lights are flashing extremely quickly. You’ve checked all of the bulbs and they’re all fine so it must be something else. It’s possible that you didn’t install the correct flasher relay and that is why you are having issues.
If you are replacing the relay, you will want to make sure that you get the exact same relay as a replacement. Make sure that the part numbers match exactly. If the original part number is no longer available and a replacement one is available, you will just want to make sure that it shares the same electrical characteristics as the original one had to ensure it doesn’t mess with electrical timing at all.
Additionally, if you have installed LED lights on your motorcycle and they didn’t come with any sort of LED drivers, you will likely need to replace your relays with ones compatible with LEDs. These will be aftermarket relays that you will have to find. As we have previously mentioned, the LED lights have much lower electrical resistance than incandescent bulbs and as such, you will need to use different relays that can give you the appropriate blinker timing at that new electrical resistance.
How To Diagnose A Fast Blinking Bulb With a Test Light And A Wiring Diagram
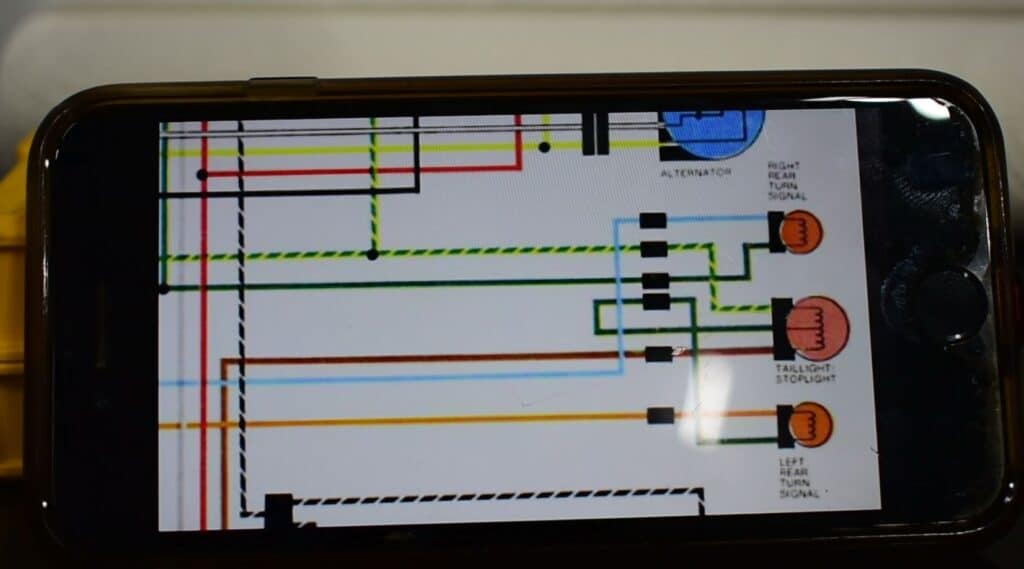
As we previously mentioned, you can diagnose your vehicles blinker circuit using just a test light. In order to do this, you will first want to track down a wiring diagram for your motorcycle. These can be found online and in some owner’s manuals as well (you can find your motorcycle specific manual on eManual Online). Once you have your test light and your electrical schematic, you are ready to get started with testing.
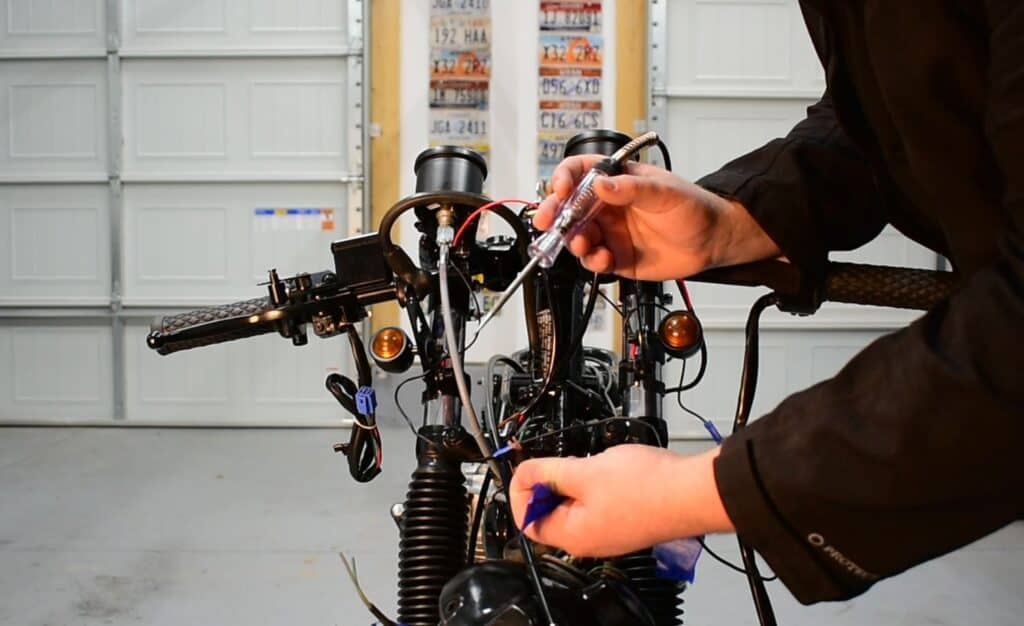
You now want to locate your blinker circuit on the electrical schematic. As a motorcycle owner, I highly recommend purchasing a test light. I’ve used this thing so many times and it’s been extremely convenient to have in instances like this. You can get a decent on for $20.
To use the test light, you’ll need to attach the alligator clip component to the motorcycle’s ground. This could be most metal surfaces on the motorcycle such as the frame or a bolt on the engine. You now can touch the probe to any place in an electrical circuit. If there is a 12-volt difference between the probe and the motorcycle’s ground, the light will turn on showing that there is power.
From here, you can just follow along your blinker circuit and ensure you have power everywhere you should. You can start at the battery and work your way along the circuit. With the blinkers on, you should be seeing 12V come and go along the circuit (meaning your test light will flash). You can follow this all the way along to your bulbs as well. If you have 12V on the power side of your bulb but the bulb is not turning on, then you have a bad bulb that needs to be replaced.
This one simple tool allows you to quickly and easily diagnose your entire electrical circuit in a matter of minutes. The most critical thing here is that you find the wiring diagram for your motorcycle so you know how exactly the electrical is setup, where it is routed, and even which color wires serve which purpose.